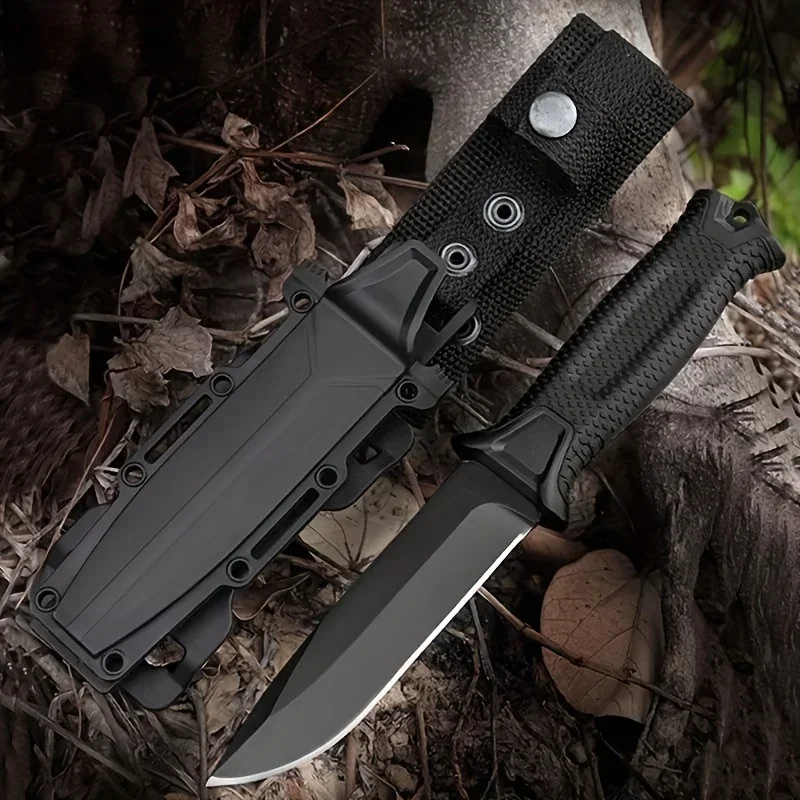
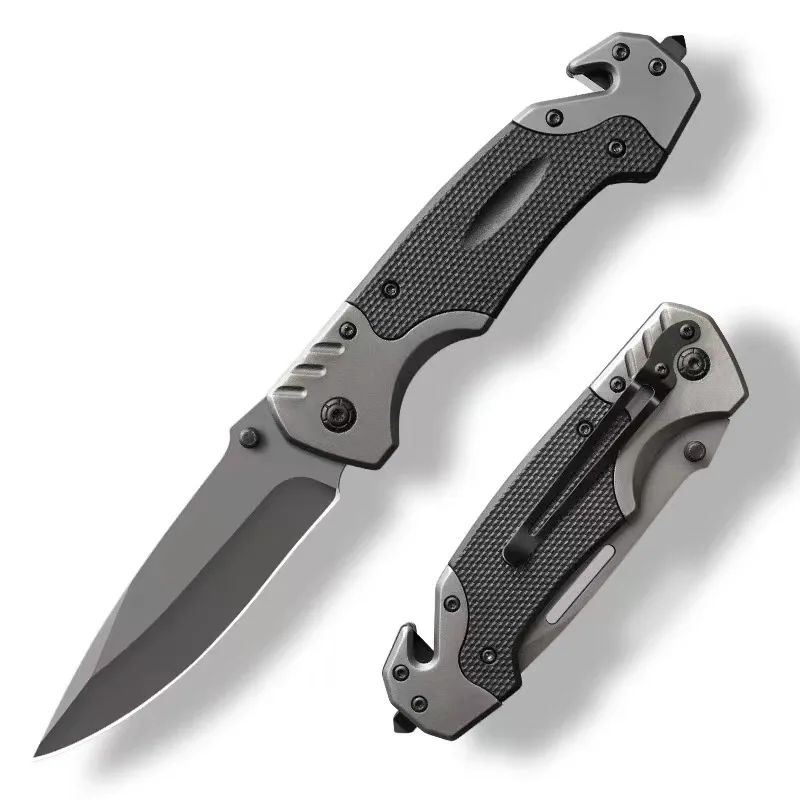
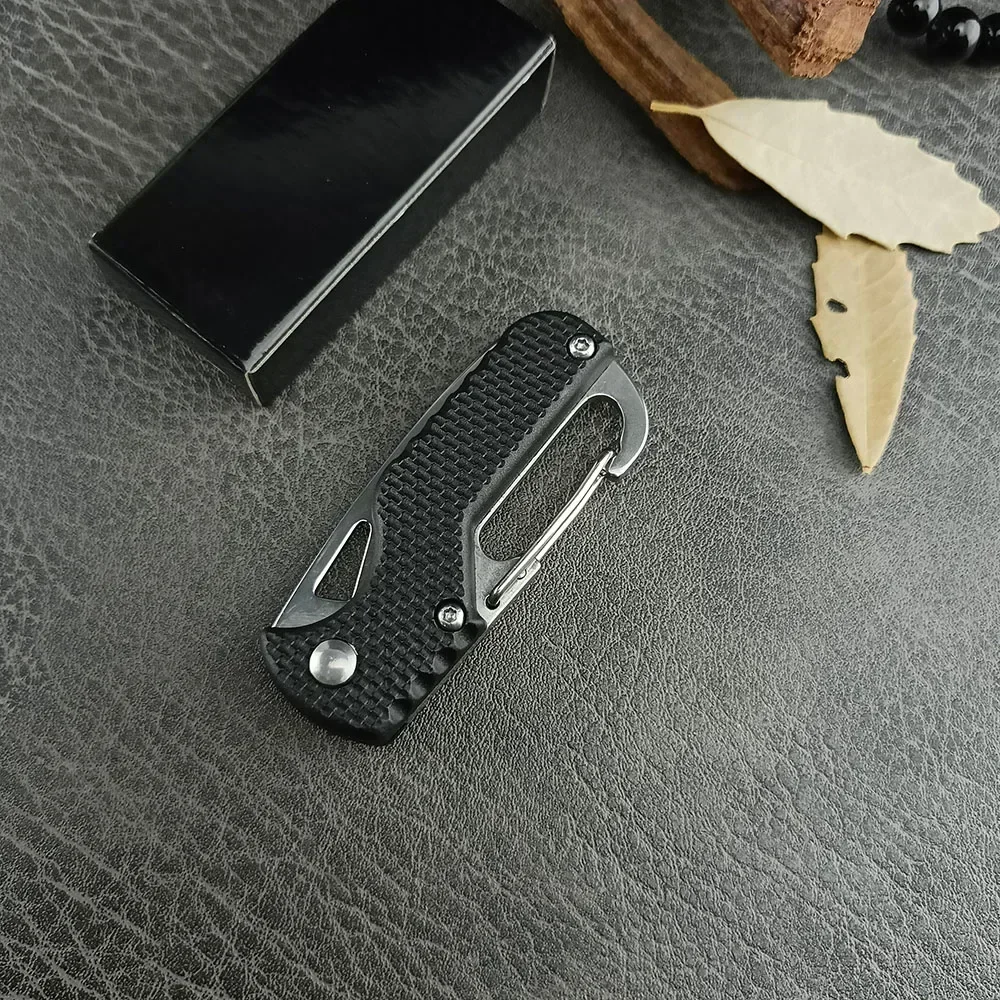
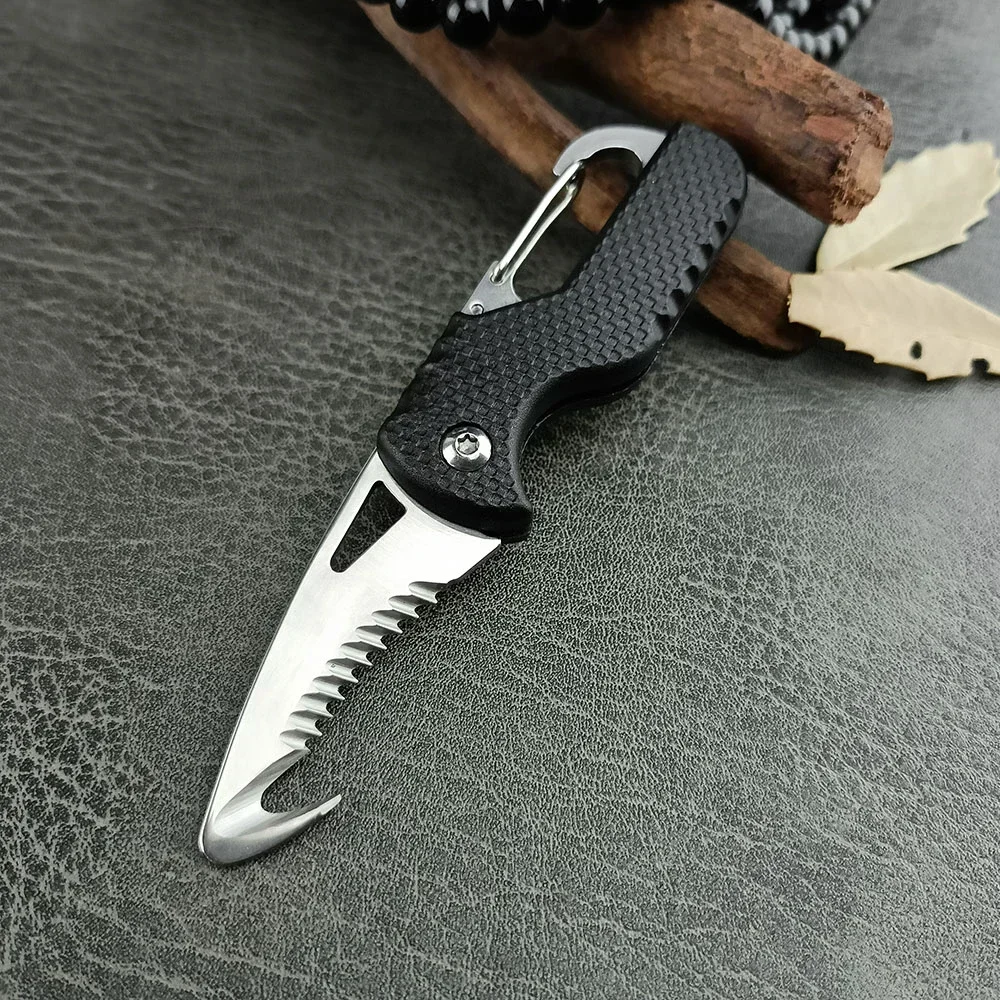
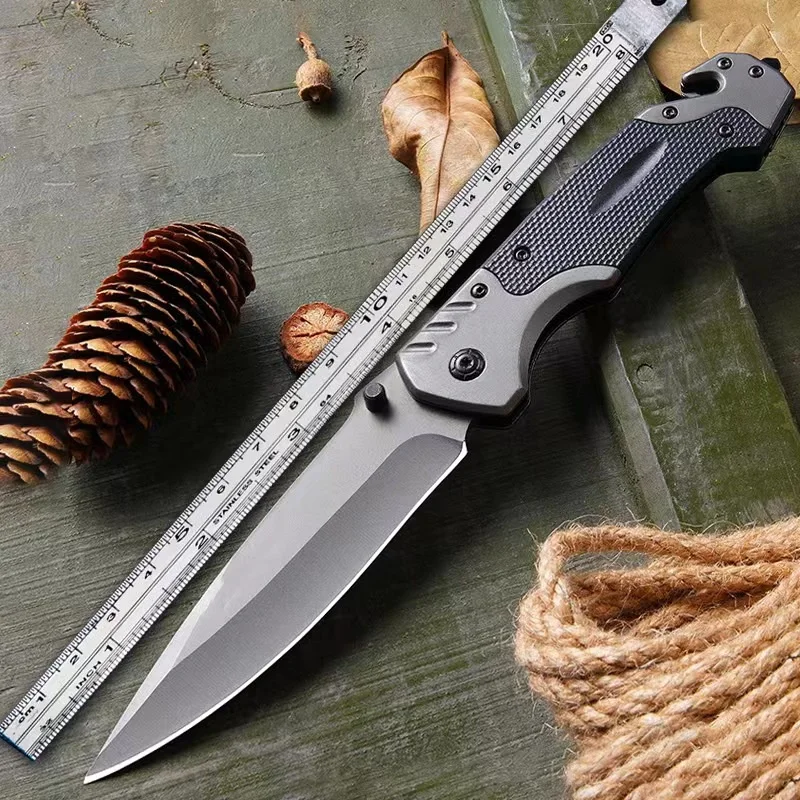
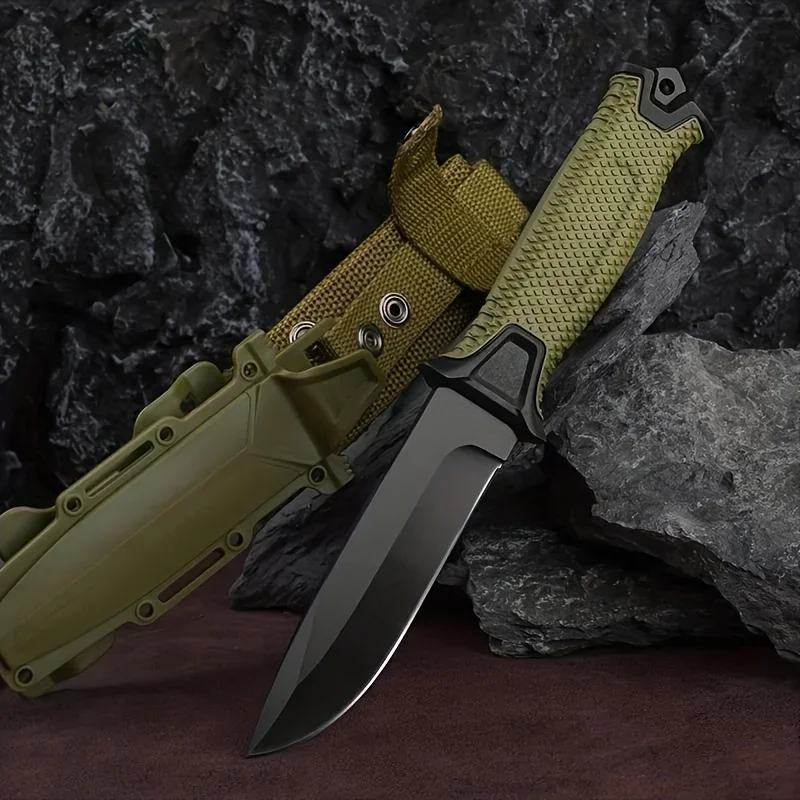
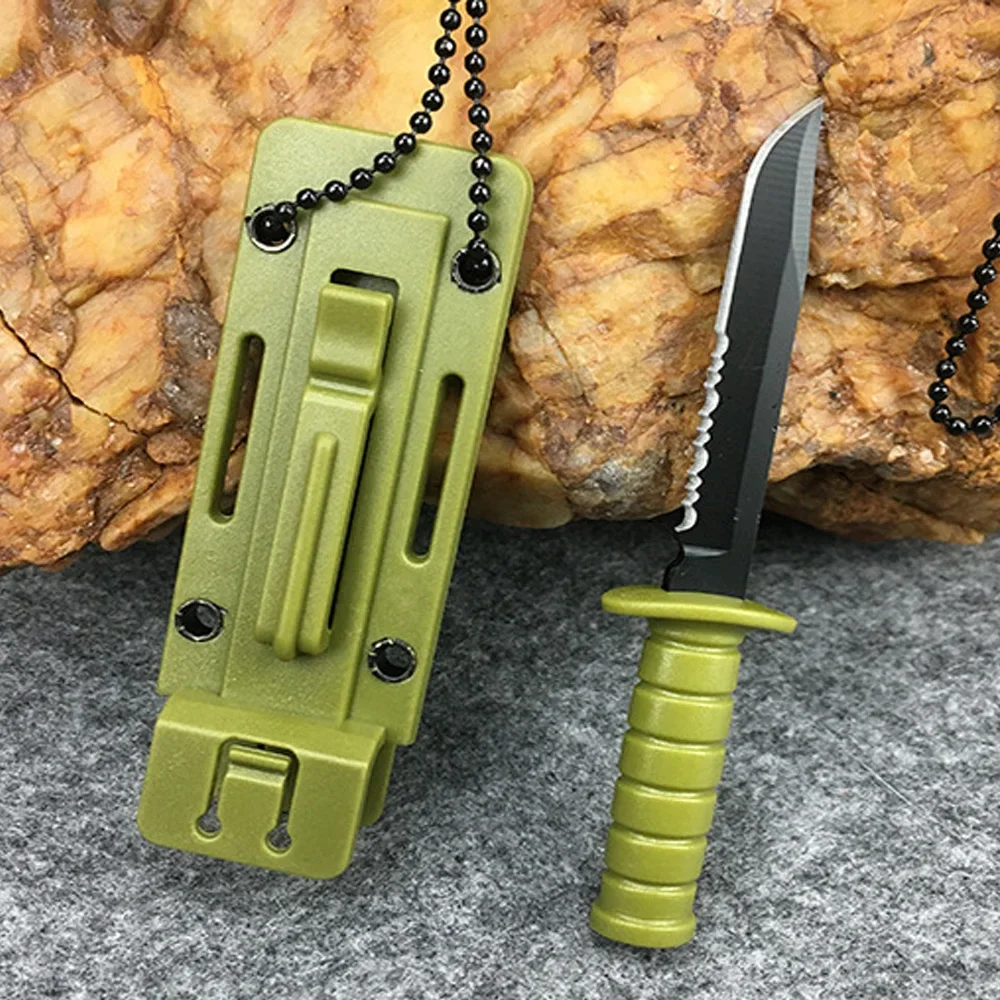
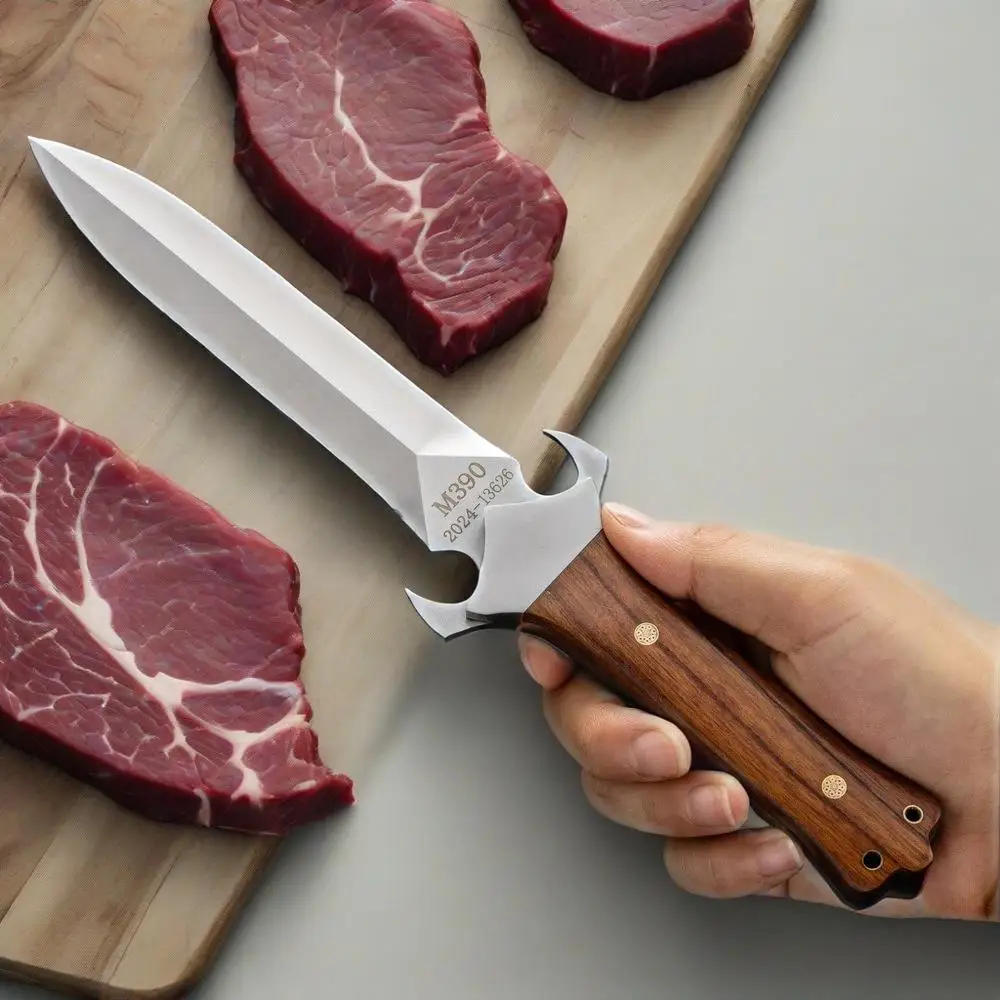
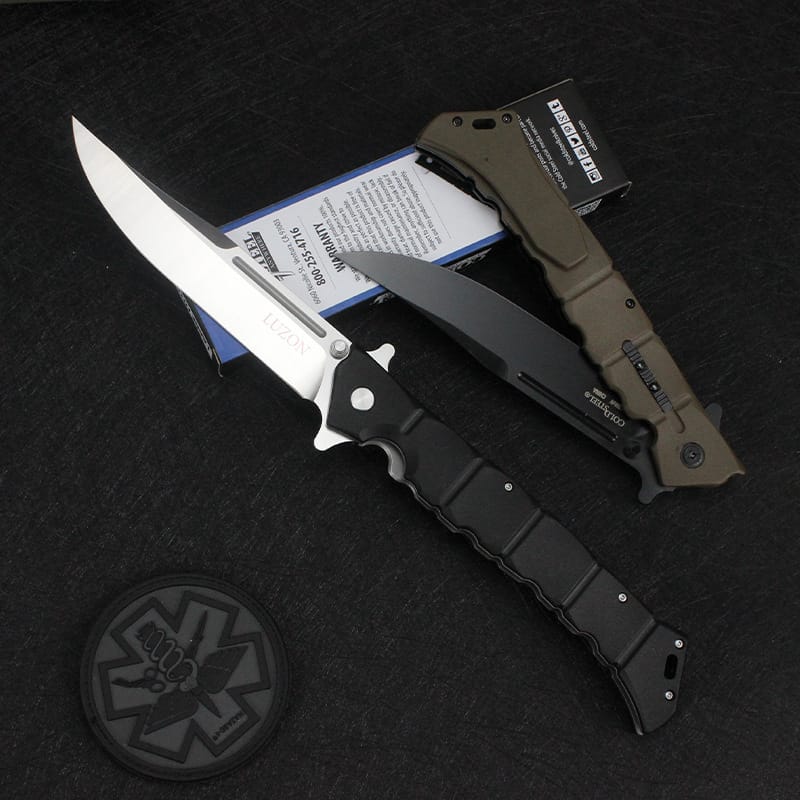
When I first got my hands on a folding tactical hunting knife, I was thrilled. It was an HMMA tactical knife, with a sleek wooden handle and a partially serrated blade that looked ready to tackle any outdoor challenge. I imagined myself slicing through rope, preparing kindling, or even dressing game with ease. But after a few uses, I noticed the serrated edge wasn’t cutting as cleanly as it once did. The blade tugged at materials instead of slicing through them, and I realized I had no idea how to maintain it. That’s when I dove into the world of sharpening serrated blades—a skill every knife enthusiast, especially those who own folding tactical hunting knives, should learn.
Serrated blades, like the ones found on many folding tactical hunting knives, are a bit trickier to sharpen than straight-edged blades. The jagged, tooth-like pattern is designed to grip and tear through tough materials, making them ideal for outdoor tasks. But those same serrations make maintenance a challenge for beginners. In this guide, I’ll walk you through the process of sharpening serrated blades, share tips I’ve learned from trial and error, and help you keep your folding tactical hunting knife in top shape. Whether you’re a hunter, camper, or just someone who appreciates a reliable blade, this 3,000-word journey will give you the confidence to maintain your knife like a pro.
Why Serrated Blades Matter in Folding Tactical Hunting Knives
Let’s start with the basics: why do folding tactical hunting knives often have serrated blades? I remember the first time I used my HMMA folding tactical hunting knife to cut through a thick nylon rope during a camping trip. The serrated portion of the blade bit into the rope with ease, while the straight edge struggled to get a clean cut. Serrated blades excel at cutting fibrous or tough materials—think rope, cardboard, or even animal hide—because the teeth create multiple points of contact, allowing the blade to saw through the material.
For hunters, a folding tactical hunting knife with a serrated edge is a game-changer. When field dressing game, the serrations can cut through tough hide and cartilage where a straight blade might slip. The folding design makes it easy to carry, and the tactical aspect ensures it’s durable enough for rugged use. But here’s the catch: serrated blades dull over time, just like any other edge. And when they dull, they don’t just underperform—they can become dangerous, requiring more force to cut and increasing the risk of slips.
I learned this the hard way when my HMMA folding tactical hunting knife started to struggle with basic tasks. I was trying to cut some branches for a campfire, and the dull serrations kept snagging on the wood, making the cuts uneven and forcing me to apply more pressure than I was comfortable with. That’s when I knew I had to learn how to sharpen the serrated edge properly. If you’ve ever been in a similar situation, you’ll understand why this skill is so important.
Understanding the Anatomy of a Serrated Blade
Before we get into the sharpening process, let’s break down the anatomy of a serrated blade on a folding tactical hunting knife. When you look at the blade on a knife like the HMMA tactical model, you’ll notice the serrations are a series of small, curved teeth along the edge. Each tooth has a concave section called a gullet, and the points between the gullets are what do the cutting. Over time, these points dull, and the gullets can become clogged with debris, reducing the blade’s effectiveness.
Many folding tactical hunting knives, including my HMMA, have a combination blade—part serrated, part straight. This design gives you the best of both worlds: the serrated section for tough materials and the straight edge for precision cuts. But it also means you’ll need to maintain both sections differently. For now, we’ll focus on the serrated part, since it’s the most intimidating for beginners.
One thing I noticed about my folding tactical hunting knife is that the serrations vary in size. Some teeth are larger, designed for aggressive cutting, while others are smaller for finer work. This variation can make sharpening a bit more complex, as you’ll need tools that match the size of the gullets. But don’t worry—I’ll guide you through choosing the right tools and techniques.
Tools You’ll Need to Sharpen a Serrated Blade
When I first set out to sharpen my folding tactical hunting knife, I was overwhelmed by the options. There are countless sharpening tools on the market, but not all of them are suitable for serrated blades. After some research and a bit of trial and error, I narrowed down the essentials. Here’s what you’ll need:
- A Tapered Sharpening Rod: This is the most important tool for sharpening serrated blades. The rod should be tapered so it can fit into gullets of different sizes. I use a ceramic rod because it’s gentle on the blade and doesn’t remove too much material.
- A Flat Sharpening Stone: You’ll need this for the flat side of the blade. A medium-grit stone (around 1,000 grit) works well for most folding tactical hunting knives.
- A Marker: A permanent marker is handy for marking the serrations you’ve already sharpened, so you don’t miss any spots.
- A Clamp or Vise: This keeps your knife steady while you work. I didn’t use one at first, but I quickly realized how much easier it makes the process.
- A Cleaning Brush and Oil: After sharpening, you’ll want to clean the blade and apply a light coat of oil to prevent rust, especially if you use your folding tactical hunting knife in humid environments.
I bought my tapered rod and stone from a local outdoor store, but you can find quality options online as well. If you’re using a premium folding tactical hunting knife like an HMMA, you’ll want to invest in good tools to avoid damaging the blade.
Step-by-Step Guide to Sharpening a Serrated Blade
Now that you have your tools, let’s get into the sharpening process. I’ll break it down into steps, sharing what I’ve learned from sharpening my own folding tactical hunting knife. This method works for most serrated blades, including those on HMMA tactical knives.
Step 1: Prepare Your Workspace
Find a well-lit, stable surface to work on. I like to set up on my dining table with a towel underneath to catch any metal shavings. If you have a clamp or vise, secure your folding tactical hunting knife with the serrated edge facing up. Make sure the blade is clean—use a brush to remove any debris from the gullets.
Step 2: Mark the Serrations
Take your marker and color in the serrated edge of the blade. This might seem like an extra step, but it’s a lifesaver. As you sharpen, the marker will wear off, showing you which teeth you’ve already worked on. I skipped this step the first time and ended up over-sharpening some serrations while neglecting others.
Step 3: Match the Rod to the Gullet
Here’s where the tapered rod comes in. Look at the serrations on your folding tactical hunting knife and find a section of the rod that matches the size of the gullet. For my HMMA knife, the serrations vary, so I had to adjust the rod as I moved along the blade. Hold the rod at the same angle as the bevel of the tooth—usually around 20 degrees. If you’re unsure of the angle, check the manufacturer’s recommendations. HMMA provides this info on their website.
Step 4: Sharpen Each Tooth
Starting at one end of the serrated section, place the rod in the gullet and gently move it back and forth. Use light pressure—you’re not trying to reshape the blade, just restore the edge. I usually do about 5-10 strokes per tooth, checking the marker to see if it’s wearing off evenly. If the marker is still visible, keep going. Repeat this process for each tooth, working your way down the blade. It’s tedious, but rushing through it will lead to uneven results.
Step 5: Check for Burrs
After sharpening each tooth, run your finger lightly along the flat side of the blade (the non-serrated side). You might feel a slight burr—a raised edge of metal that forms during sharpening. This is normal, but you’ll need to remove it. Flip the knife over and lay it flat on your sharpening stone. With light pressure, run the flat side over the stone a few times until the burr is gone. I did this with my folding tactical hunting knife, and it made a huge difference in how smoothly the blade cut.
Step 6: Clean and Test the Blade
Once you’ve sharpened all the serrations and removed any burrs, clean the blade with a brush and a damp cloth. Apply a light coat of oil to prevent rust, especially if you’re in a humid area. Now, test the blade on a piece of rope or cardboard. When I tested my HMMA folding tactical hunting knife after sharpening, it sliced through a rope like butter—a far cry from the snagging I’d experienced before.
Common Mistakes to Avoid
Sharpening a serrated blade isn’t hard once you get the hang of it, but there are a few pitfalls I’ve encountered. When I first tried sharpening my folding tactical hunting knife, I made some classic beginner mistakes:
- Using Too Much Pressure: I thought more pressure would speed up the process, but it just wore down the blade unevenly. Light, consistent strokes are the way to go.
- Ignoring the Flat Side: I focused so much on the serrations that I neglected the flat side, leaving burrs that dulled the blade over time. Always check for and remove burrs.
- Using the Wrong Tool: At first, I tried using a flat stone on the serrations, which was a disaster. A tapered rod is essential for getting into those gullets.
Advanced Tips for Maintaining Your Folding Tactical Hunting Knife
Once you’ve mastered the basics, there are a few advanced techniques to keep your folding tactical hunting knife in peak condition. For example, I’ve started honing my HMMA knife between sharpenings. Honing doesn’t remove material like sharpening does—it just realigns the edge to keep it sharp. I use a ceramic rod for this, running it lightly through each gullet a few times after every few uses.
Another tip is to pay attention to how you use your knife. Serrated blades are tough, but they’re not indestructible. Avoid cutting on hard surfaces like metal or stone, as this can chip the teeth. I learned this lesson after using my folding tactical hunting knife to pry open a can—big mistake. The serrations were fine, but the straight edge got a nasty nick.
If your folding tactical hunting knife has a combination blade, like many HMMA models, don’t neglect the straight edge. I sharpen the straight portion with a whetstone every few months, keeping the angle consistent with the factory edge. This ensures the whole blade is ready for action, whether I’m slicing meat or sawing through rope.
Why Choose a Folding Tactical Hunting Knife with Serrations?
At this point, you might be wondering if a serrated blade is worth the maintenance. In my opinion, absolutely. A folding tactical hunting knife with serrations offers unmatched versatility for outdoor activities. Whether you’re hunting, camping, or fishing, the serrated edge can handle tasks that a straight blade can’t. And the folding design makes it easy to carry safely in your pocket or pack.
I’ve taken my HMMA folding tactical hunting knife on countless trips, and it’s never let me down. From cutting fishing line to preparing food, the serrated edge has been a lifesaver. Yes, sharpening takes time, but the payoff is a blade that’s always ready when you need it. If you’re on the fence about getting a folding tactical hunting knife, I’d recommend checking out HMMA’s selection—their knives are durable, well-designed, and perfect for beginners and pros alike.
Troubleshooting: What to Do If Sharpening Doesn’t Work
Sometimes, despite your best efforts, the blade still doesn’t feel sharp. This happened to me the second time I sharpened my folding tactical hunting knife. I went through all the steps, but the serrations still struggled to cut cleanly. After some troubleshooting, I realized the issue was with my technique—I wasn’t matching the rod to the gullet size properly. Some of the larger teeth weren’t getting sharpened at all.
If you run into this problem, double-check your rod size and angle. You might also need to spend more time on each tooth—don’t rush the process. If the blade is severely damaged (like if the teeth are chipped), you might need to take it to a professional. I’ve never had to do this with my HMMA knife, but it’s good to know the option is there for extreme cases.
Final Thoughts: Keep Your Blade Ready for Action
Sharpening a serrated blade might seem daunting at first, but it’s a skill that gets easier with practice. After a few sessions, I can now sharpen my folding tactical hunting knife in about 20 minutes, and the results are worth it. There’s something deeply satisfying about taking care of your own gear, especially a tool as essential as a folding tactical hunting knife.
Whether you’re using an HMMA tactical knife or another brand, the process is largely the same. Take your time, use the right tools, and don’t be afraid to make mistakes—every nick and scratch is a lesson learned. With a sharp serrated blade, you’ll be ready for whatever the outdoors throws at you, from cutting kindling to field dressing game.
So, the next time you’re packing for a hunting trip or camping adventure, take a moment to check the edge on your folding tactical hunting knife. If it’s not biting like it used to, grab your tapered rod and get to work. Your future self will thank you when you’re slicing through rope or preparing a meal with ease. And if you’re looking for a reliable knife to start with, I can’t recommend HMMA enough—their folding tactical hunting knives are a perfect blend of form and function.
